Renovation Update: Project Sasquatch Cabin
It’s been over a year since we purchased our cozy ski cabin at Sasquatch Mountain Resort. You can read about how it all went down here.
We’ve spent a lot of time (and money) fixing up the place over the past year. The cabin has good bones but it was in need of some serious TLC. Most of the big renovations are now complete, but we still have an endless list of improvements that we want to make.
Given that new travel content has been limited on this blog over the past two years, we feel it’s a good time to share our progress with you today. We will continue to share real-time updates on Instagram and Facebook, if you’re interested in seeing how things are coming along.
If you’re wondering where the heck Sasquatch Mountain Resort is located, read this post.
We’re excited to share some updated photos with you!
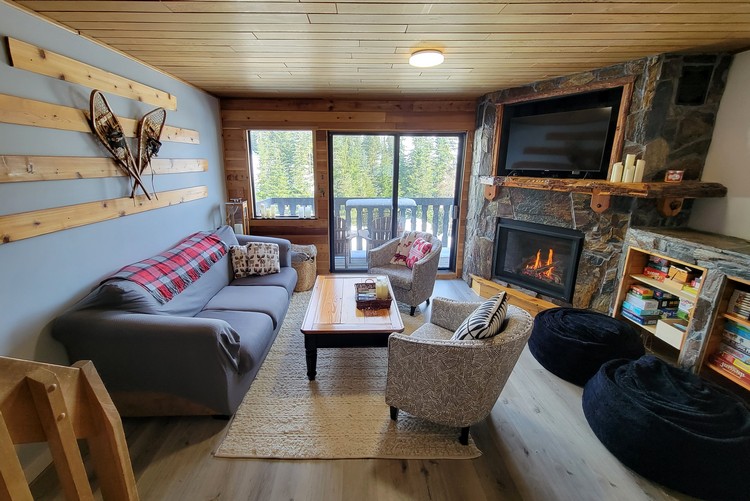
Main living room
We spend most of our time here. This is actually located on the second floor.
We purchased a new smart TV and have our own WIFI now, so we can stream Netflix, Disney+, Crave, Prime and live sports. There’s no cable TV up here, but we don’t need it with this new set-up.
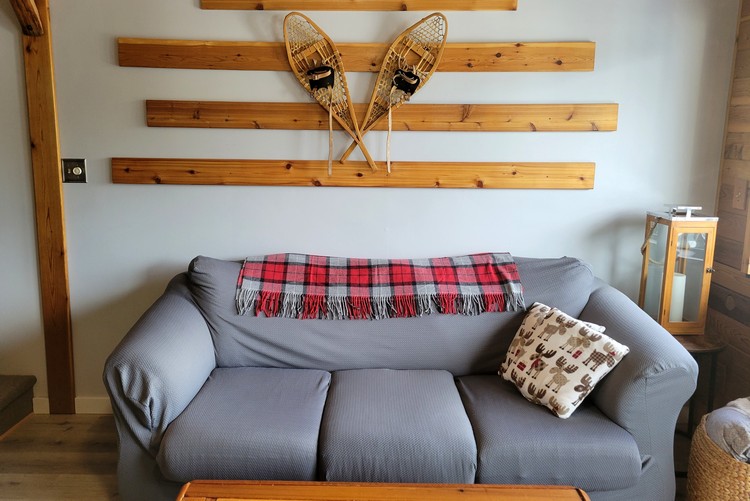
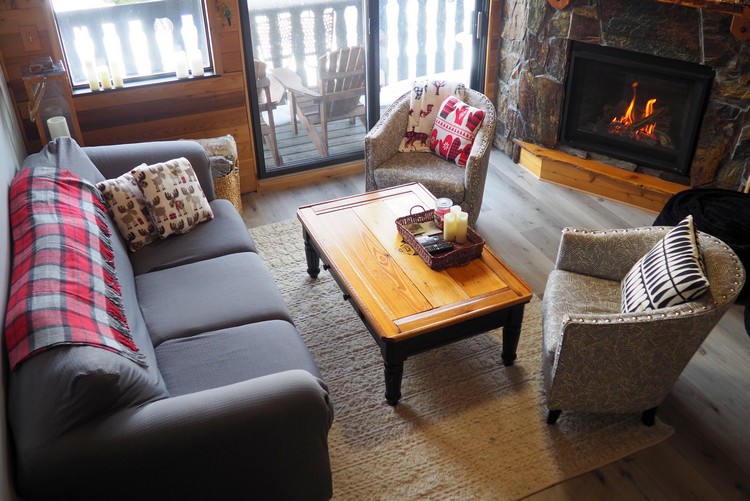
We added the two chairs, area rug and decorative snowshoes.
The floors are also new. The entire 2nd floor now has the same flooring. Before this, there was 3 different types of flooring, with 3 different colours. It was wild.
We plan to get a new couch this summer. This one is soft and comfy, but it’s old.
The propane fireplace is really nice. It’s a high-quality fireplace that heats the entire place.
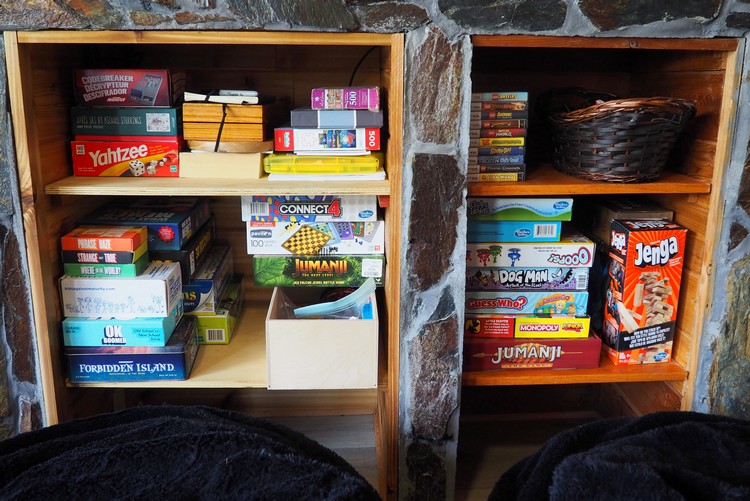
This shelving unit was updated and now houses all of the games. This collection of board games, card games, trivia games and puzzles is constantly expanding.
Brand New Kitchen!
Here’s a photo of the kitchen BEFORE the complete renovation. It’s quite the change!
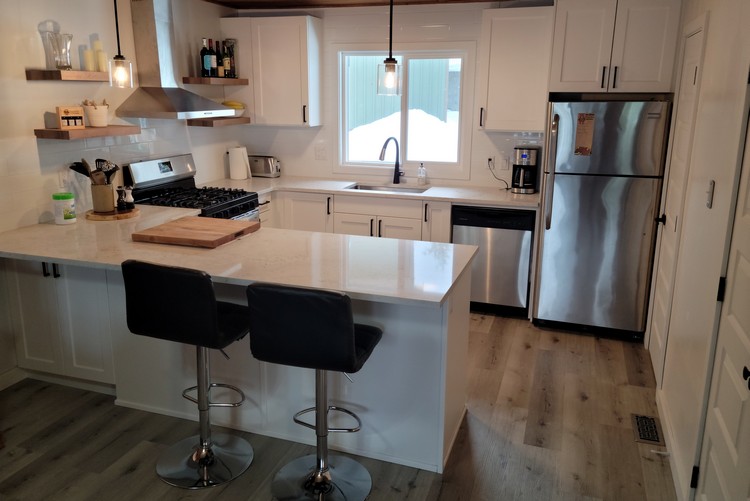
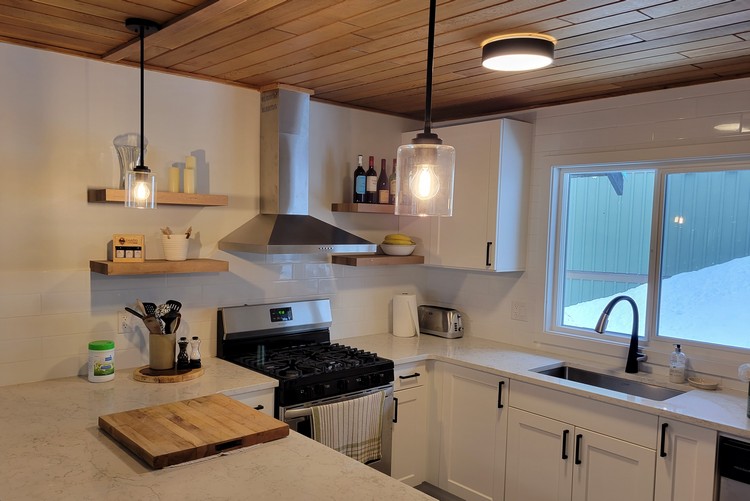
This was a major renovation that took several months over the summer. We replaced everything but the fridge and dishwasher. New lights, new hood and ventilation, new propane range, marble counter top, custom cabinets, subway tile backsplash, huge stainless steel sink, new faucet, new floors and trim.
We also re-framed the pantry with double doors (I don’t have a photo but I will get one added soon!) and new bathroom door frame.
We plan to upgrade the 2 bar stools with a set of 3 bar stools, now that we have the extra counter space. We haven’t found the perfect set yet, but we’re not in a hurry because these stools are fine.
There is a small bathroom beside the kitchen. We updated the bathroom but I don’t have any photos, yet. I will update this post when I get some photos.
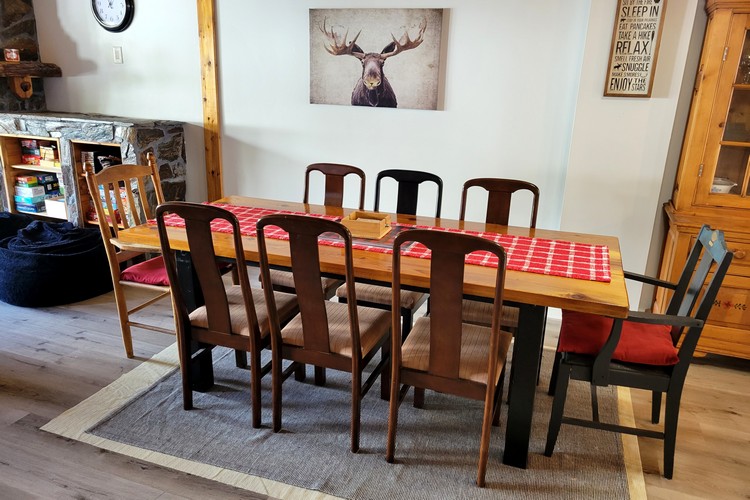
Dining area
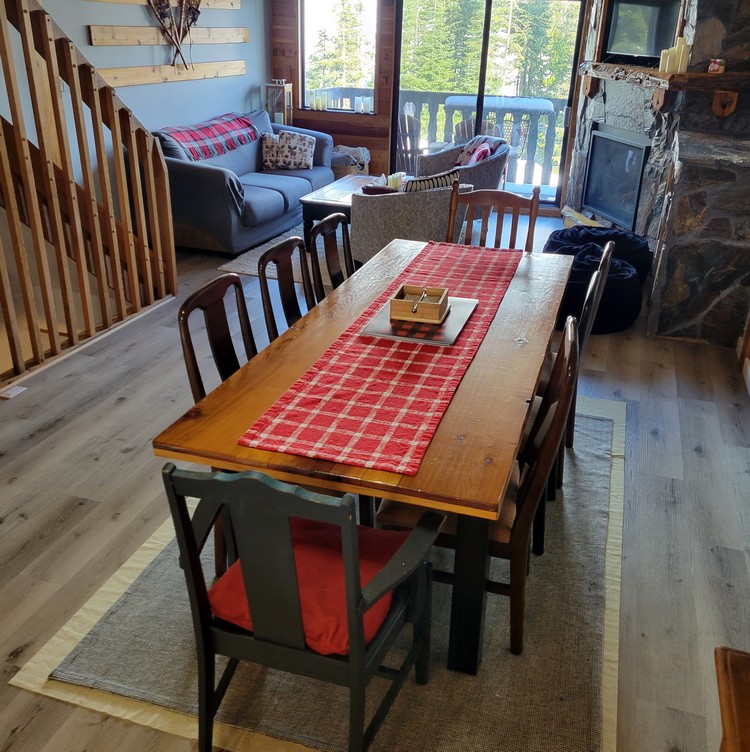
We added 6 chairs and plan to paint them black and reupholster the seats. Eventually we will upgrade the 2 chairs that are currently at the table ends.
We love the big handmade wood table. It’s the perfect size for two families.
The area rug under the table is already replaced – the one you see pictured here is only temporary.
All of the walls and trim on this floor have been painted.
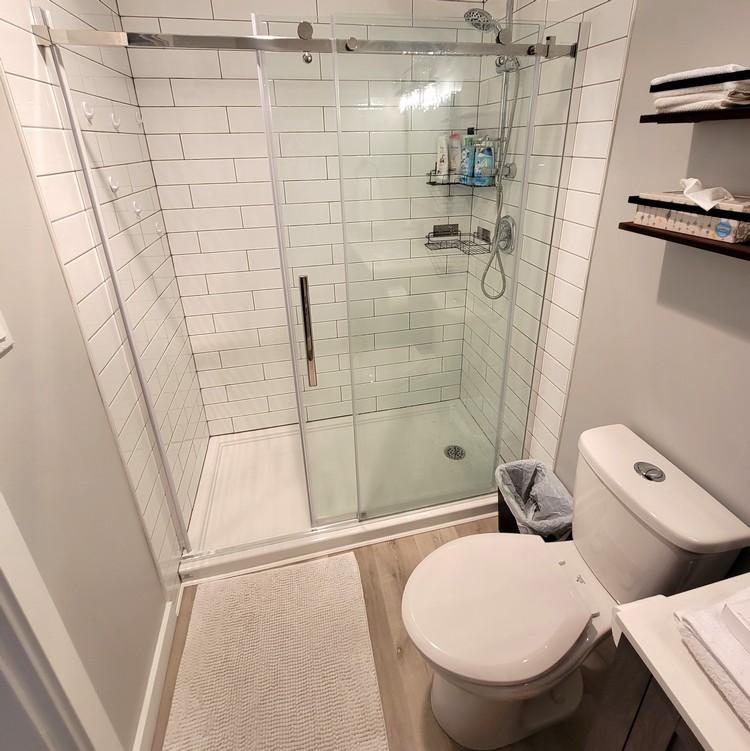
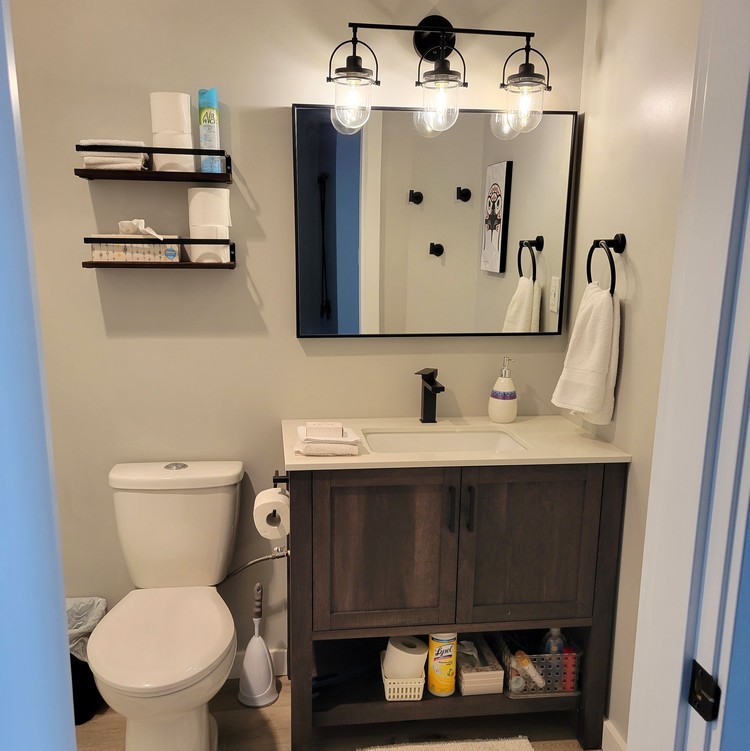
New Bathroom Upstairs!
This was the other big project, along with the new kitchen. We updated almost everything in this bathroom. This is the main bathroom for the cabin. We have another shower on the first floor, but it’s really small and we rarely use it (scroll down this post to see).
The custom shower is the main attraction of the bathroom reno. Prior to the renovation, the shower was small and the plastic half-circle door did not work properly. Now we have a huge fancy shower!
Some of the drywall was updated in this bathroom, new flooring, new vanity and mirror, new lights, new toilet and fixtures, painting, new pipes and updated electrical.
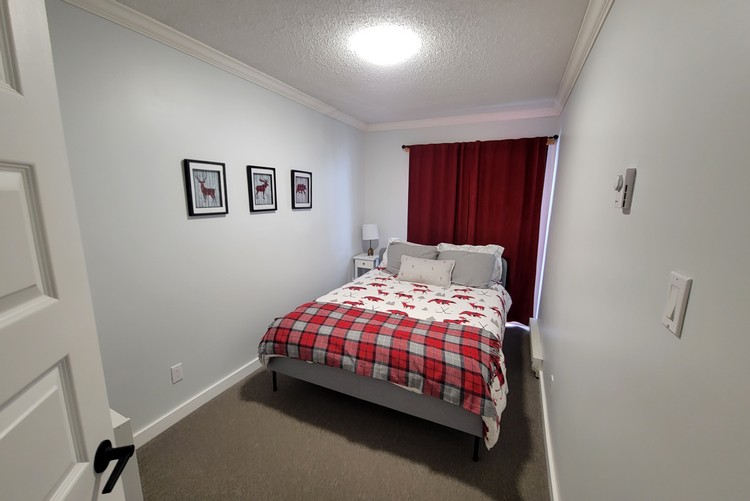
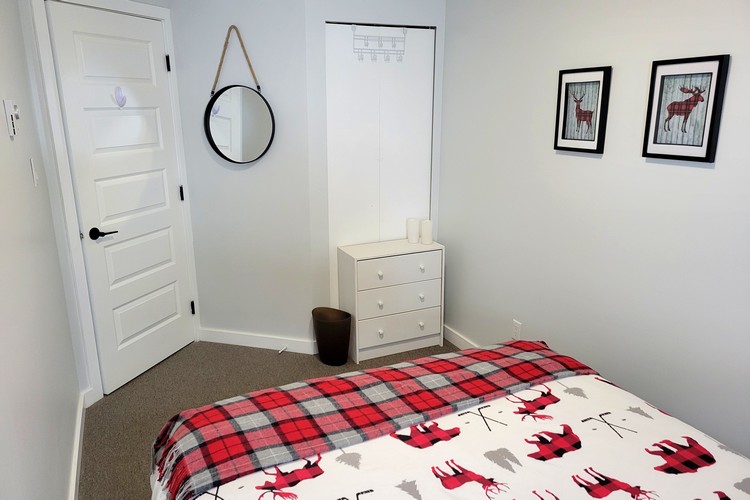
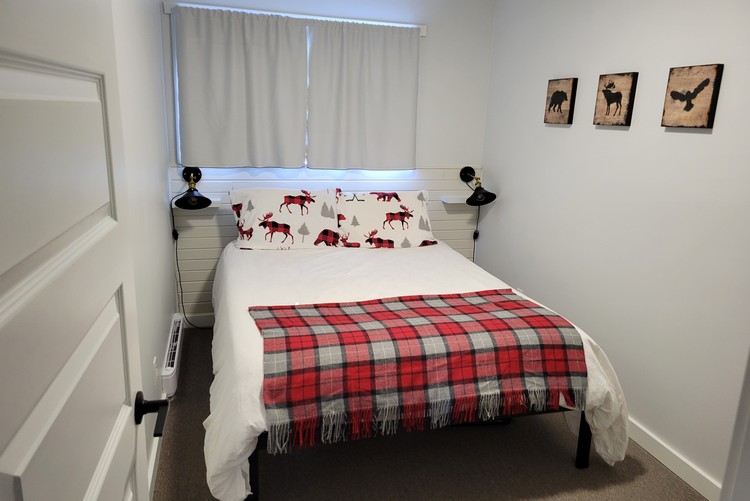
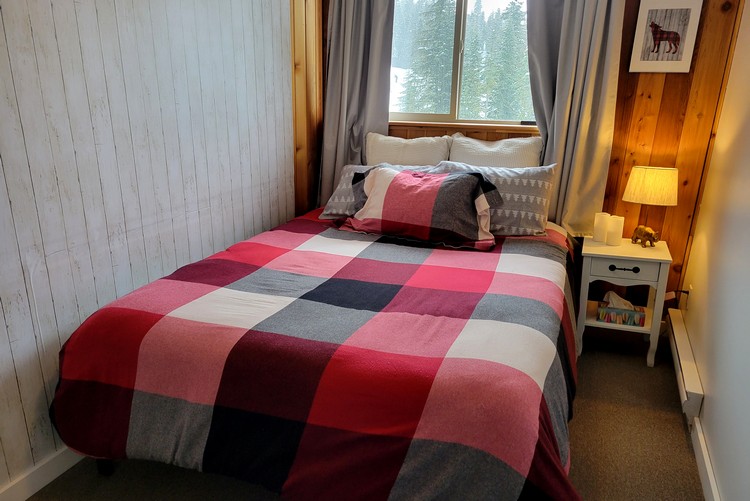
Bedroom #1
The 3rd floor has 4 bedrooms and the bathroom mentioned above. All of the rooms are roughly the same same size and layout. The bedrooms are on the small side, but they are perfect for a couple.
Queen Size bed and mattress are brand new.
All of the rooms upstairs have new carpeting, new door frame and doors, new electrical, new lights, new trim and crown-molding, new paint on the walls and new fixtures/artwork. Basically, everything in these rooms have been updated except for the drywall and sliding door/windows.
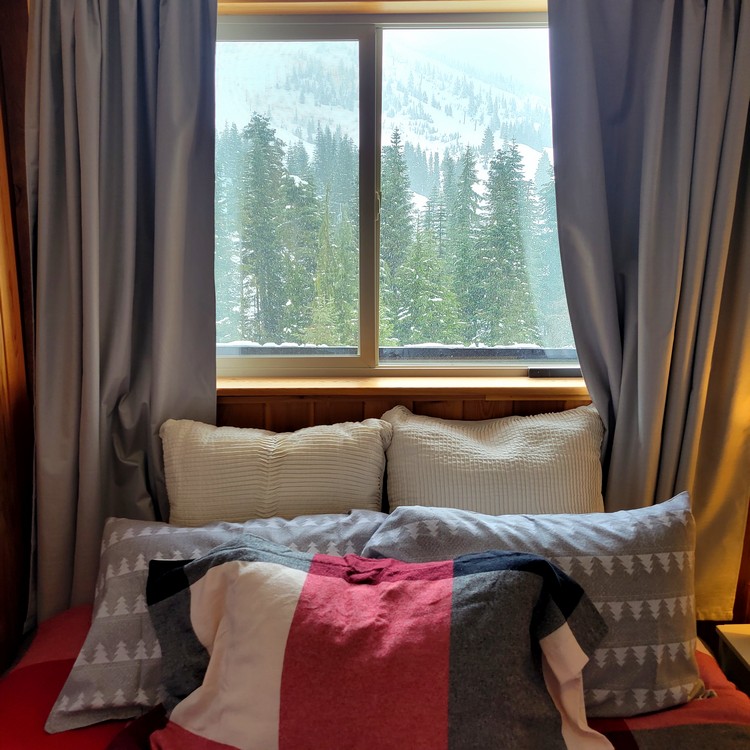
This room has a sliding door (behind the red curtains) that leads to a private balcony.
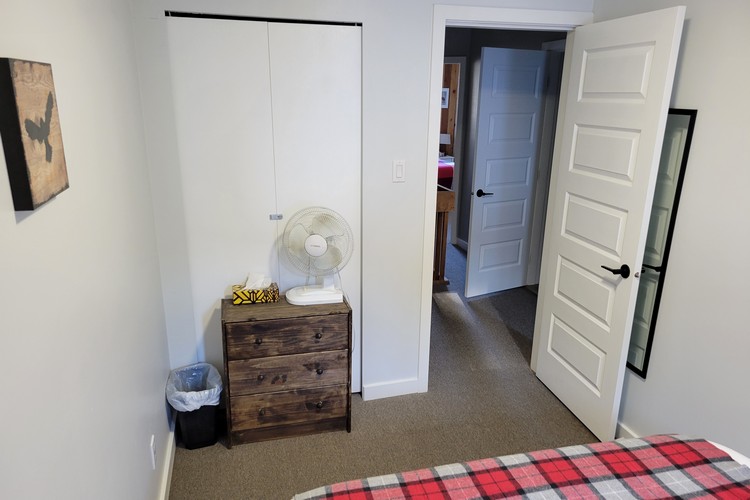
Bedroom #2
Similar size as bedroom #1. This is the bedroom we use most of the time.
New queen size bed and mattress. New lights, new carpeting, new trip and crown-molding, new baseboard heater and electrical, new door frame and door.
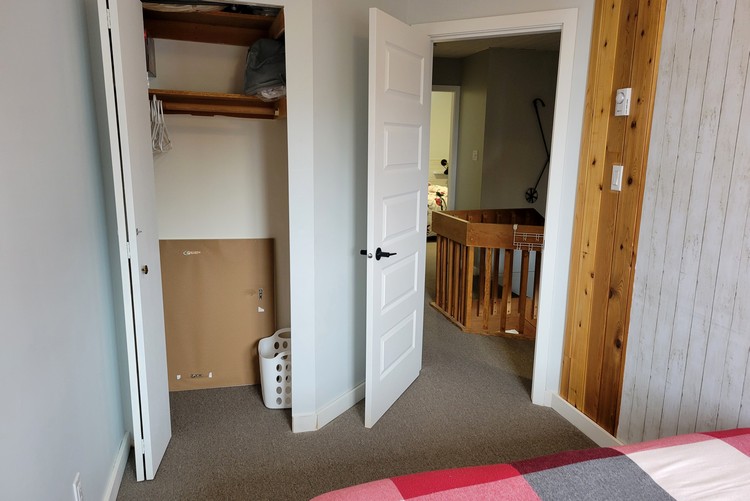
The closet has new shelves. We store our clothing, blankets, linen and towels in this closet. When we let our friends or family stay here, we block off the closet with the dresser (as you see pictured below).
The open door in the hallway leads to the shared bathroom.
This is a photo of the hallway before. We also removed this useless chimney fixed the ceiling.
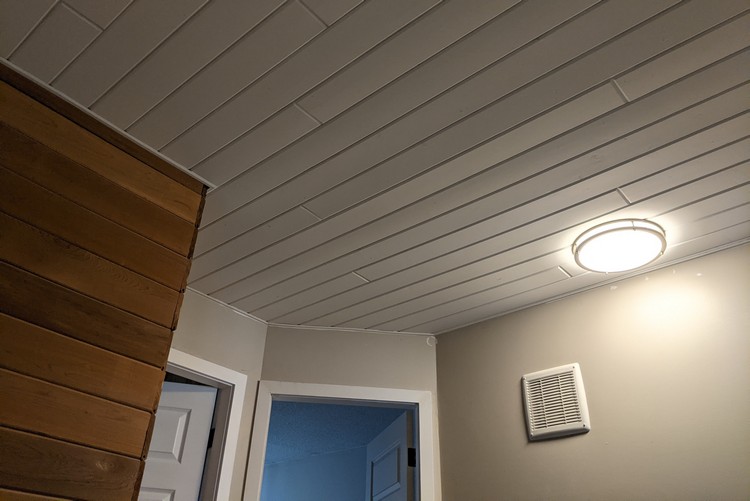
We updated the hallway ceiling with white shiplap (see photo below), new lights and electrical outlets, new carpeting in the hallways and stairs.
This is an older photo (above). We’ve since painted the walls and trim.
Bedroom #3
This room is a little weird. The previous owner knocked out the wall and installed removable wooden panels. Look at this photo from before the updates – you can see the opened wall in the back room.
The reason for doing this was to connect the two smaller rooms in order to create one bigger room. The wood panels would be stored on the balcony. The owner would rent the cabin in the winter and live here in the summer, so she wanted more space in the “master bedroom”.
We did not like the set-up and prefer to have four permanent rooms. We re-framed the wall with drywall but the wood paneling is impossible to match. We’re still not quite sure what to do here. In the meantime, we found some rustic white/grey wallpaper that does the trick. For now.
This room has a new Queen size bed and mattress, new baseboard heater and electrical, new carpeting, trim and crown-molding, new door frame and door.
This bedroom has the best views of the mountains and ski resort.
Bedroom #4
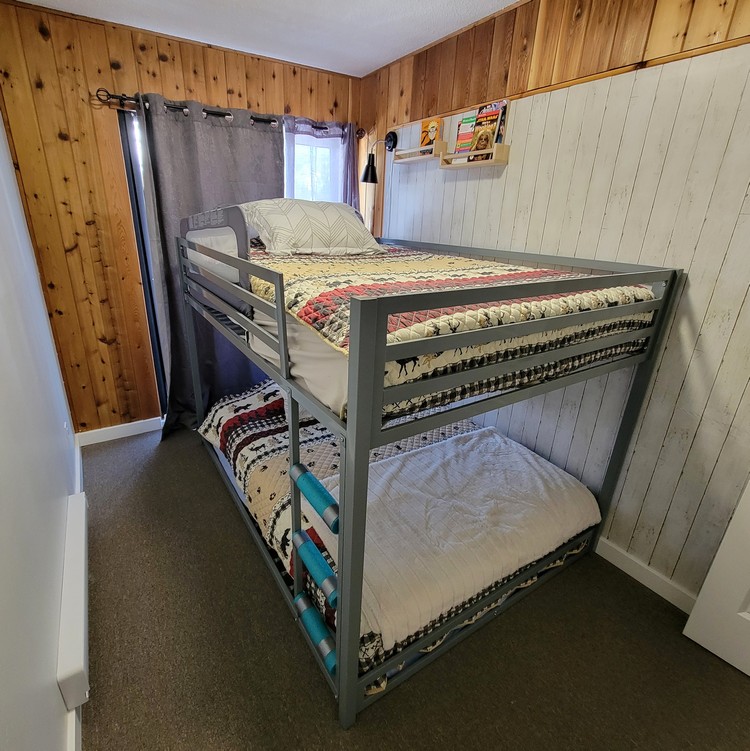
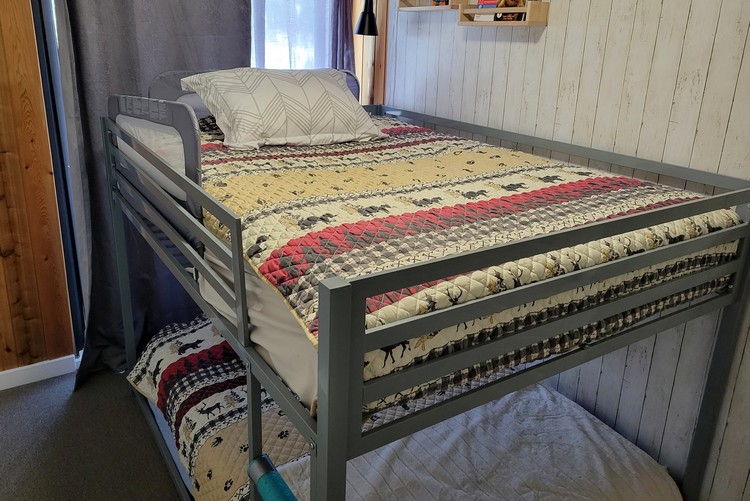
This is the boys bedroom. The bunk-beds have Double size mattresses, so they are bigger than the standard single/twin mattresses.
As you can see, this room shares the wall with Bedroom #3. We used the same wallpaper to hide the new drywall. We also added small book shelves and lights for the boys to read at night.
This bedroom has a private balcony that faces the ski resort.
This room has a large closet, so we can leave kids clothes, winter gear, toys, etc. This makes coming and going super easy. We rarely pack clothes when we come up to the mountain now.
Flex Room / Kids Room / Bedroom #5
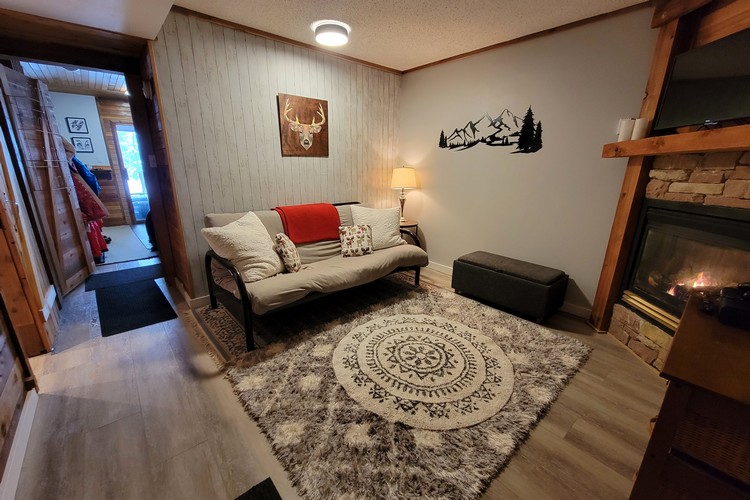
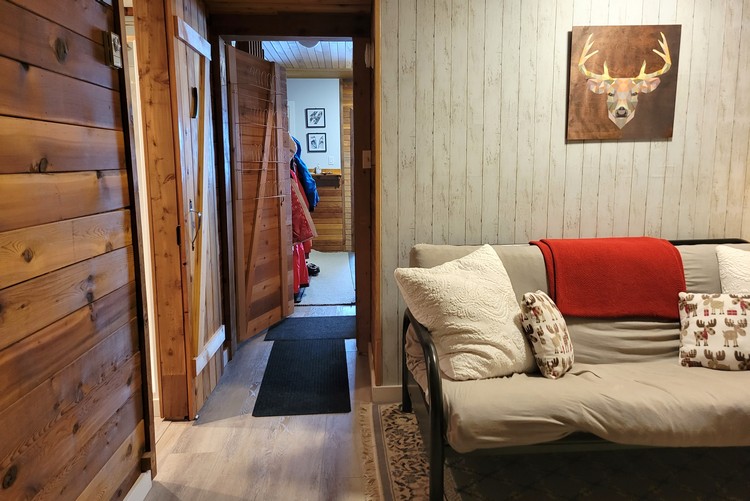
This room can be converted into Bedroom #5 or it can be an overflow room for kids to hangout.
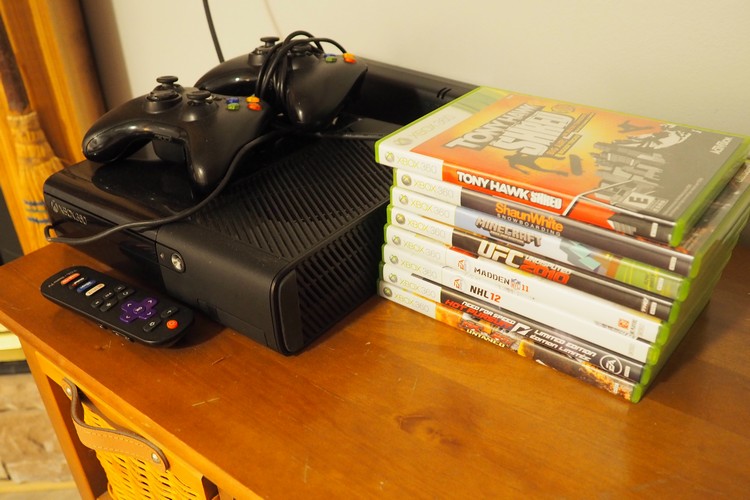
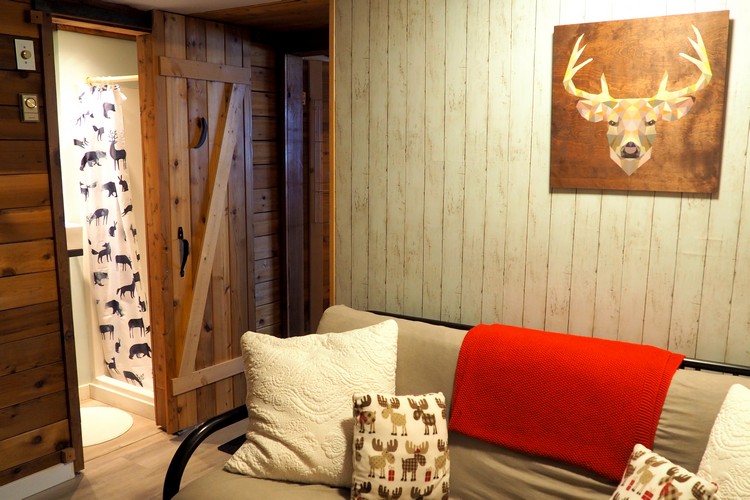
It’s located on the first floor and has a futon plus extra mattresses. It has it’s own fireplace, smart TV with XBOX and games, and a small private bathroom.
As far as updates, we did new flooring, new lights, new electrical, wood trim and painting.
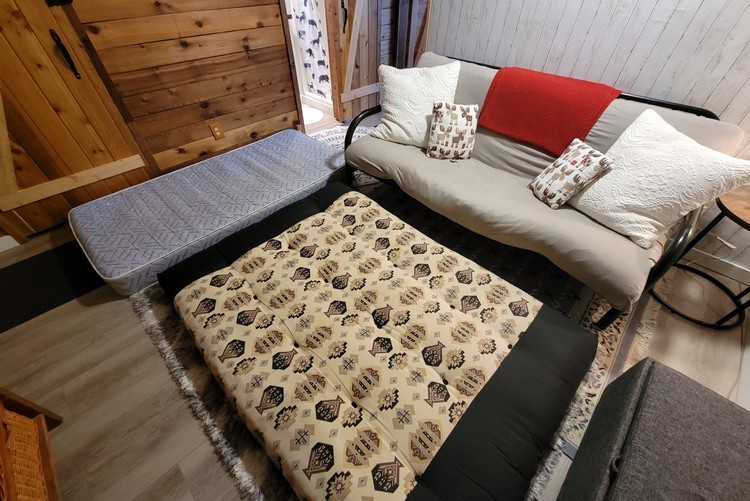
Our boys like to hangout down here and play video games. When we have guests staying with us, we convert this to a bedroom that can sleep 3-4 people. I pulled out the extra mattresses in the photo below to give you an idea of the space.
Bathroom #3
This is the only photo I have of the small bathroom on the first floor.
You can see the shower curtain. It’s a small shower, similar to what you’d find in an RV or boat.
It has a toilet and small sink. And that’s about it.
This hallway has two storage rooms and a separate laundry room with a stackable laundry machine. The laundry room will need a full renovation, so we’ll share photos when we decide to tackle that project (probably summer 2022).
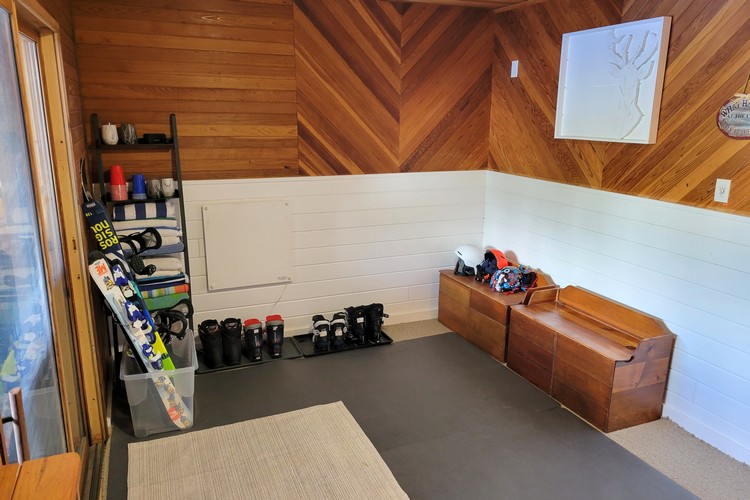
Flex room / Extended Mud Room
We love this open space. It’s the first room you enter, so it’s an ideal place for storage and getting dressed for the mountain. All of us can get ready at the same time, which is very nice when trying to organize kids for a day of skiing or snowboarding.
We store our equipment, boots, helmets, jackets, pants, gloves, etc here.
It’s also the entrance to the hot tub, so we leave towels, plastic cups and speakers here.
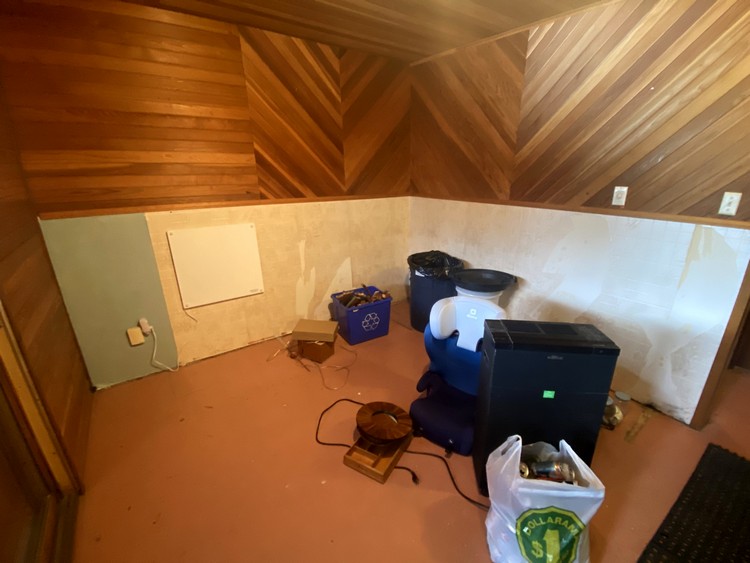
Above is a before photo of this space. Actually, this is what it looked like when we bought the place. It used to be an office space, which didn’t make a lot of sense for us.
We updated the floors, added shiplap siding (the white panel), new electrical, new lights and carpets to protect the new floors from ski and snowboard equipment.
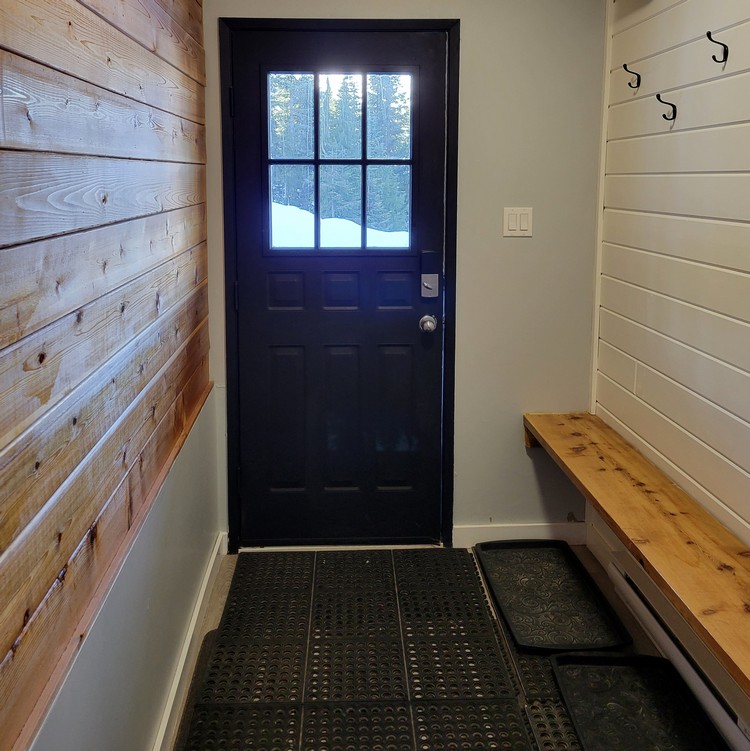
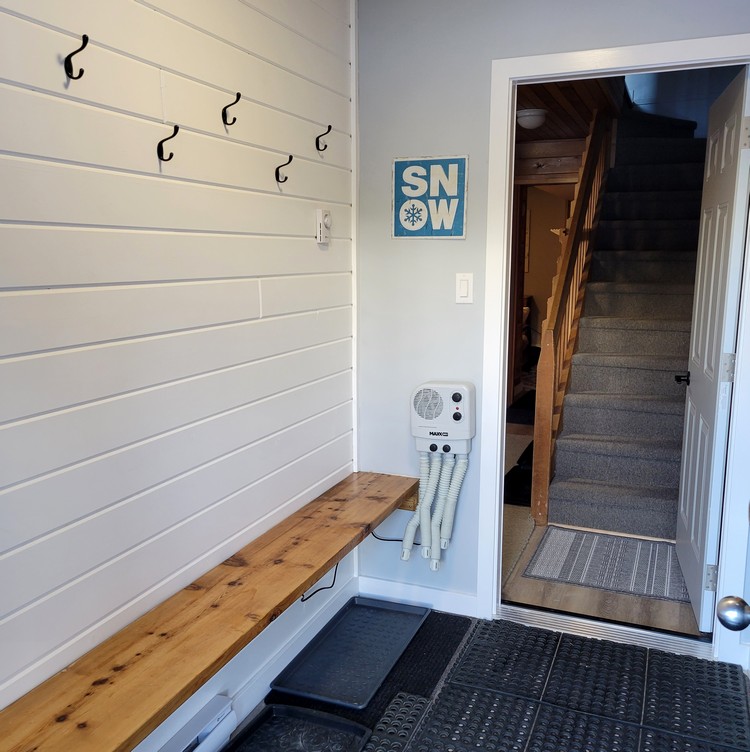
Mud Room / Entrance
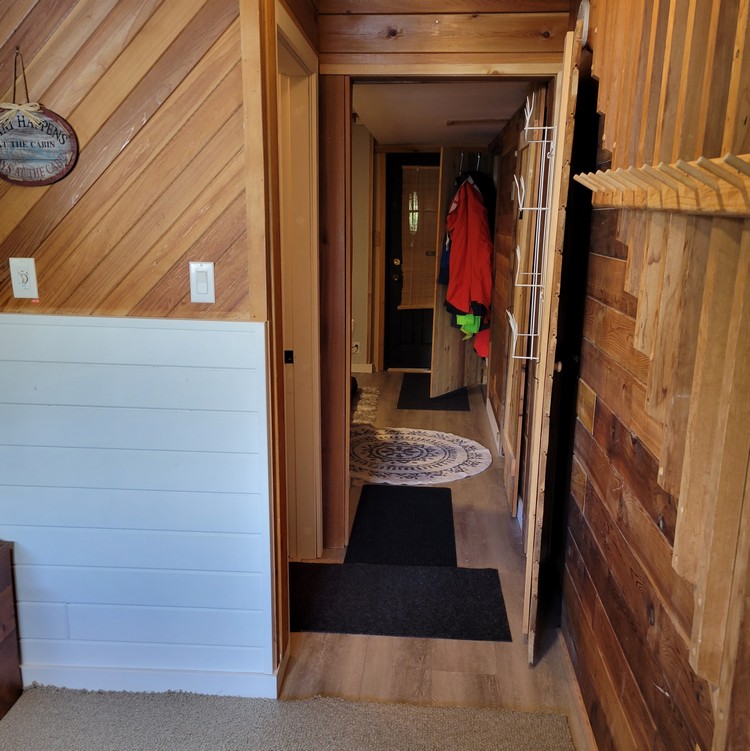
We added new floors to this room, new baseboard heater, new door frame and exterior door (the grey door in the below photo), new electrical outlets and lights, new shiplap wall with coat hangers, new wood bench, trim and paint.
This is a photo of the entrance before upgrades.
The new door and baseboard heater makes a big difference in the winter. It used to get so cold in this room. Now it’s one of the warmest rooms in the cabin when the heat is turned up.
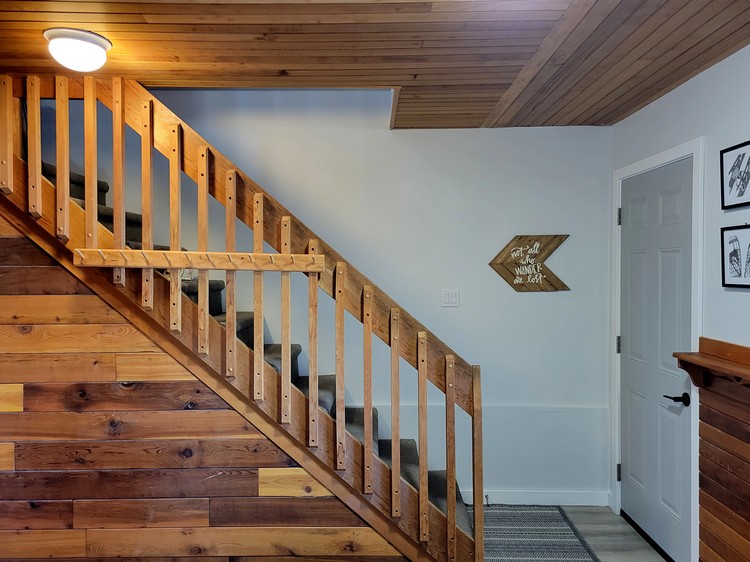
New door, new floor, new lights, new carpeting on the stairs, trim and paint.
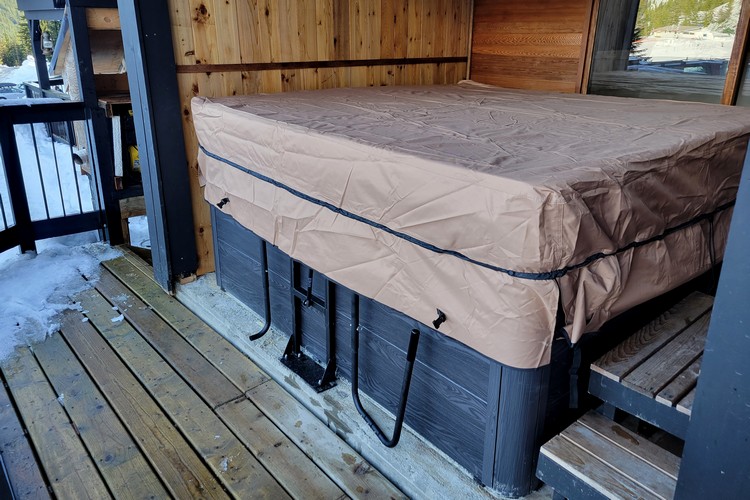
BRAND NEW hot tub! And she’s a beauty.
Unfortunately, the old hot tub (pictured here) that came with the cabin unexpectedly died last month. Technicians would not come out to fix it because it’s so old and the cabin is too remote for most people.
We did not expect to purchase a new hot tub this year, especially with all of these renovations, but these things happen when you buy and old cabin. The hot tub is an important part of the ski cabin vibe, so it had to be done. At least, that’s what we tell ourselves.
Here’s a photo of the old hot tub getting some repairs. How about these hot tub views though?!
For perspective, the old tub had 6 jets. The new one has 47 jets. Need I say more?
The above photo is the old hut tub in the summer (notice there is no snow).
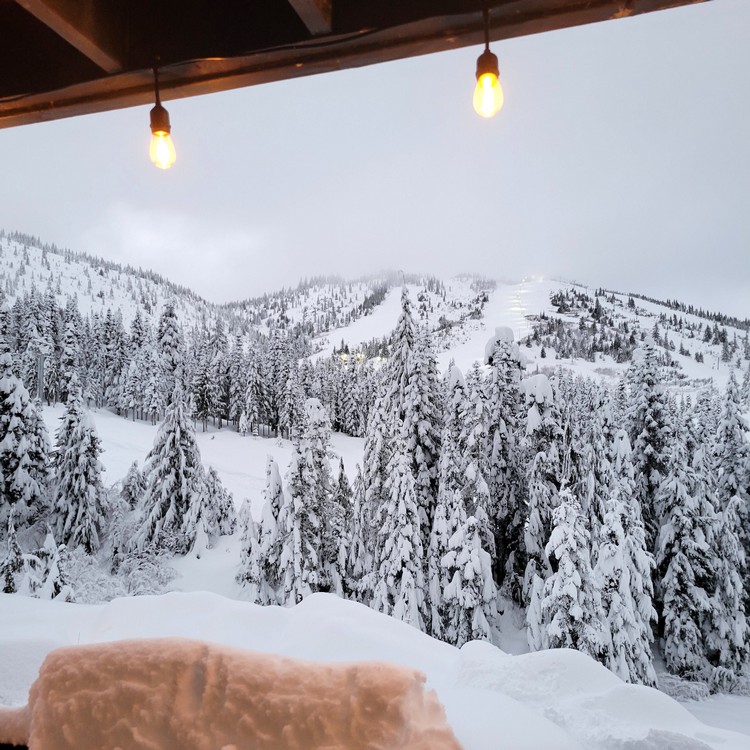
View of Sasquatch Mountain Resort from the main floor balcony.
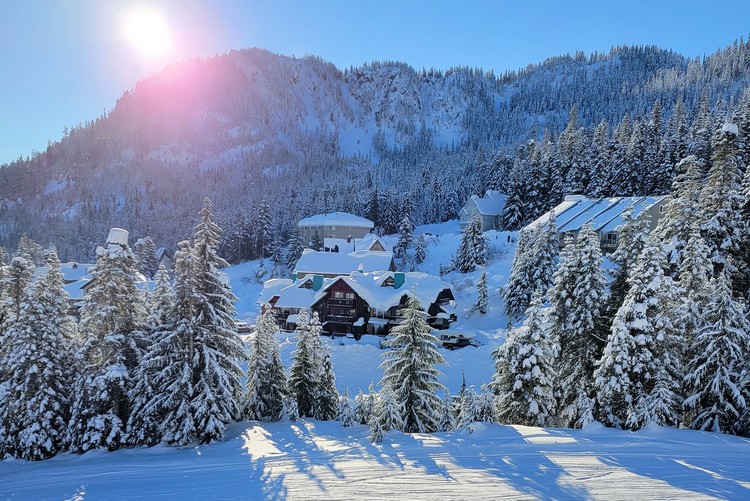
You can see how close the our cabin is to the chairlifts and day lodge at Sasquatch Mountain Resort. It’s not technically ski-in, ski-out, but very close. It’s a 5 minute walk from our front door to the Yeti Chair Lift.
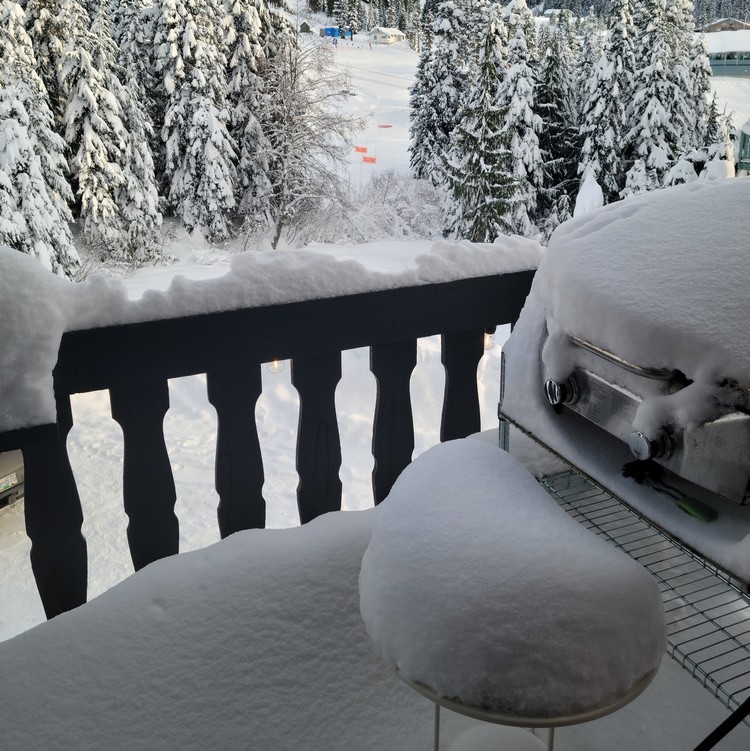
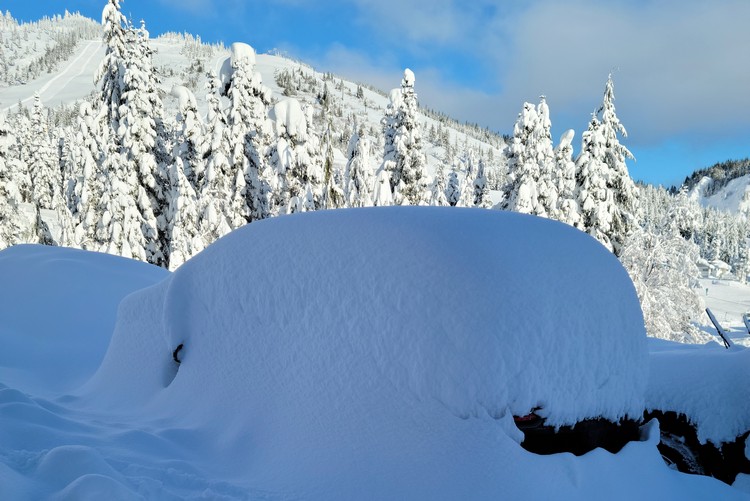
We get a lot of snow at Sasquatch Mountain Resort. That’s my Jeep under that pile of snow.
Read more blog posts from Sasquatch Mountain Resort:
- We bought a cabin at Sasquatch Mountain! Or is it a chalet?
- Everything you need to know about Sasquatch Mountain Resort
- Snow Tubing at Sasquatch Mountain Resort
Thanks for checking out our home away from home! We’ll continue to add more photos to this blog post as we complete more projects and add new items to the cabin.











Wow, the cabin looks amazing. I absolutely love the kitchen! So many great upgrades. Looks like a super cozy place to spent a weekend or even several weeks on end. There sure is a lot of snow there.